Taking On-Handling-Managing Your DIY-Do-It-Yourself-Self-Installed Shower Drain-Bathroom Drain-Drainage System Installation-Setup-Project
Taking On-Handling-Managing Your DIY-Do-It-Yourself-Self-Installed Shower Drain-Bathroom Drain-Drainage System Installation-Setup-Project
Blog Article
Are you currently on the lookout for information and facts on How to Install or Replace a Shower Drain?

Upgrading a restroom is one of the more popular residence enhancement jobs. Dealing with the plumbing for draining your shower can be exceedingly simple unless you overdo.
Managing Your Own Shower Drainpipe Installment Project
Whether you are a bath tub or shower person, most people seek shower only alternatives when getting a residence. This easy reality implies greater than a few house owners invest a weekend break updating or setting up showers in their washrooms. The good news is for you, it is a fairly easy procedure.
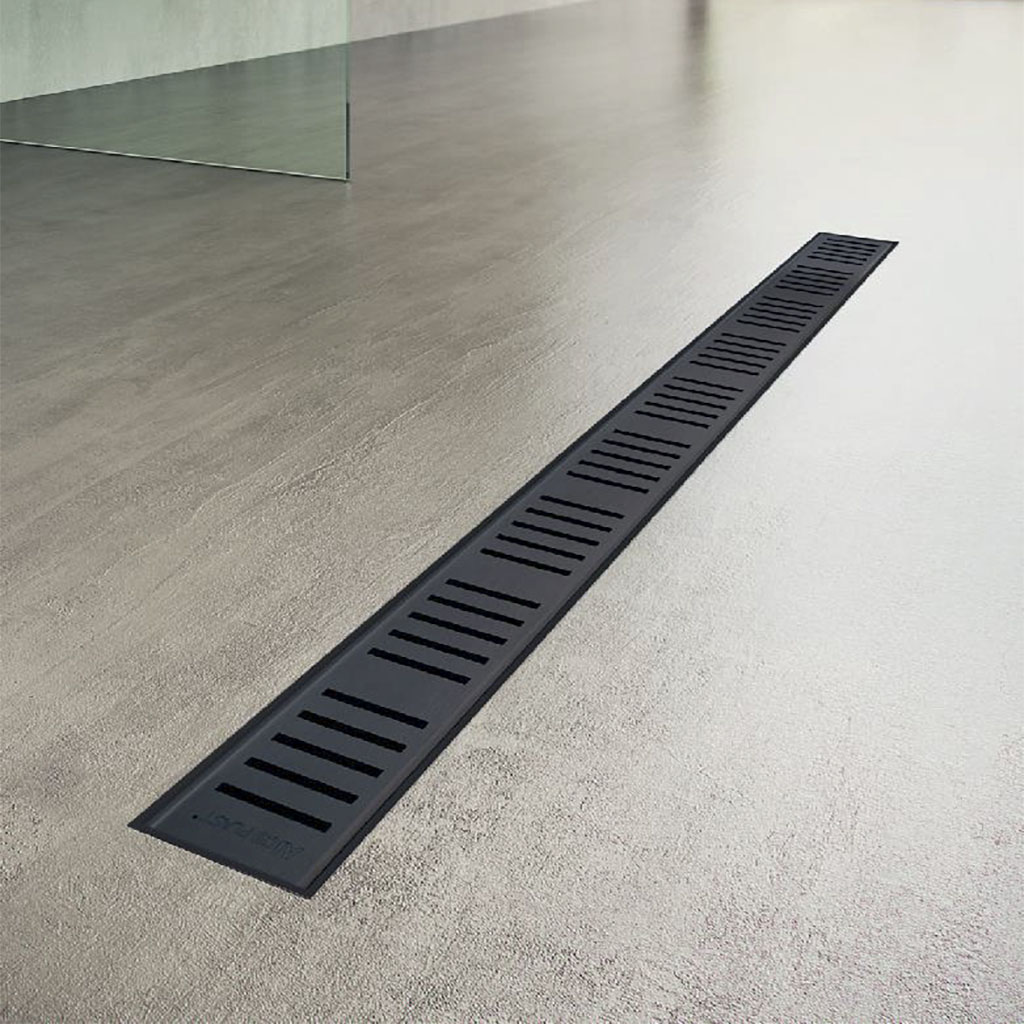
A collector or frying pan refers to the horizontal surface located at the end of the shower. The collector usually includes a non-slip surface somewhat banked towards the facility or wherever the drain is located. Combined with three to four inch wall surfaces around the side, the goal of your shower drainage plumbing is to get the water to flow to and also down the drain.
You can literally construct a collection agency for your new shower, but you really require to consider it. Do you really want to get into the difficulties of getting the sloping correct, as well as making certain every aspect of it is water-proof? And I indicate every aspect! It is a lot easier to simply purchase a pre-cast enthusiast online or at your local copyright, Residence Depot or hardware shop. Structure one might seem like a terrific suggestion, but you will probably feel in different ways after a couple of hours.
Regardless of exactly how you tackle getting a pan, you ought to make every effort to utilize one that has the drainpipe situated in the very same place as the initial frying pan. Relocating the drainpipe pipes can be a job, especially if the building contractor made use of an one-of-a-kind framework framework. If you are identified to move the drain, you are mosting likely to need to cut down the pipe or lengthen it, which might imply ripping up huge portions of the flooring. Put another way, you are mosting likely to be taking a look at a several weekend break project.
Thinking we have our drain aligned, the real connect is rather easy. The water drainage pipe should be dealing with upright up to the collection agency. It will typically resemble a "U", which means it functions as a cleanout to maintain nasty scents from returning up from the drainpipe. To connect the drain, you are mosting likely to develop a water limited link between a drain cap on the top of the frying pan and also the water drainage pipeline. Solutions differ, yet you are commonly going to do this by putting a combining item on the top of the drainage pipe. This is then covered with gaskets and literally screwed into the drain cap. The drain cap ought to serve as a locknut, to wit, it screws directly onto the combining.
The complicated part of this procedure is obtaining your drain cap to fit into a watertight placement in the frying pan. This is achieved by backing off the drainpipe cap as soon as you make sure everything meshes. At that point, you placed plumbing technicians putty around the underside of the cap and then screw it back on. The putty ought to form a tight seal in between the cap and the shower frying pan, which keeps water from dripping under it as well as into the mounting under the shower.
Clearly, shower room showers come in a variety of styles these days. If you acquire a collector, they usually come with plumbing instructions or the store can note anything unusual you should know. It seems intricate, yet is usually rather easy. Have fun!
How to Replace a Shower Drain
When Replacing a Shower Drain is Necessary
If you see water damage in the drywall in the ceiling below the shower If your old shower drain is showing signs of corrosion If you want to replace your shower pan or base How to Replace a Shower Drain
When a bathtub drain links, it’s normally possible to make the repair from inside the bathtub. Shower drains, however, are constructed differently. To correctly repair a shower drain, you typically need to either cut into the ceiling below the shower or shimmy into the crawlspace under the bathroom depending on where the shower is located. Here’s how to change a shower drain in 8 steps.
Cut into the drywall underneath your shower
o begin work on your shower drain, turn off all circuit breakers that control the lights and outlets in the bathroom you’re working on. Wearing a headlamp for light optimizes safety until you feel confident you know where all the wires are located.
Replacing a shower drain isn’t an impossible job, but it can present some challenges (especially if you’re inexperienced in plumbing projects). If you want to complete this task on your own, then it’s certainly possible. Follow this guide on how to change a shower drain.
When Replacing a Shower Drain is Necessary
How do you know when you should replace your shower drain? Here are some telltale signs.
If you see water damage in the drywall in the ceiling below the shower
If your old shower drain is showing signs of corrosion
If you want to replace your shower pan or base
The guide will help prepare you for the issues you may face during the process of replacing a shower drain.
How to Replace a Shower Drain
When a bathtub drain links, it’s normally possible to make the repair from inside the bathtub. Shower drains, however, are constructed differently. To correctly repair a shower drain, you typically need to either cut into the ceiling below the shower or shimmy into the crawlspace under the bathroom depending on where the shower is located. Here’s how to change a shower drain in 8 steps.
1. Cut into the drywall underneath your shower
To begin work on your shower drain, turn off all circuit breakers that control the lights and outlets in the bathroom you’re working on. Wearing a headlamp for light optimizes safety until you feel confident you know where all the wires are located.
Next, make a rectangular hole in the drywall underneath your shower with a drywall saw and utility knife. Be cautious of any other pipes or wires that may be in the ceiling as well. Continue your cut as far as the ceiling joists on either side. Then, cut down the middle of the joists to provide a backing for the new drywall. Make sure the hole is rectangular as this shape will be easier to patch than any other.
The section should also be large enough to allow you to disassemble your drain. If your shower drain has been leaking, the best place to cut is where the drywall is soggy, or water is dripping. Cut away all the water-damaged and moldy drywall.
Disassemble the interior shower drain
This portion of the process is complex and requires several mechanical steps to begin disassembling the portion of the drain inside the shower.
First, wedge a flat-head screwdriver under the drain strainer and pry it up. Next, remove the strainer so the locknut and gasket inside the drain flange are exposed. You’ll see that the locknut has several crowns. Put a screwdriver against one of the crowns and tap the screwdriver with a hammer to turn the nut clockwise. Then, keep tapping until you’re able to turn the nut by hand. Unscrew the crown and remove it. Finish prying out the rubber gasket underneath it with the screwdriver.
Remove the drain locknut from beneath the shower
Return to the space beneath the shower (either the ceiling or the crawl space) and locate the locknut holding the drain to the shower pan. If space is available, you can use wide-jaw pliers to loosen it. However, if space is limited, then use the same technique described above (i.e., tapping one of its crowns counterclockwise with a screwdriver and hammer until the nut is loose enough to turn by hand).
Prepare the waste pipe for a new drain
Before attaching the new drain, wipe the rim of the waste pipe off with a rag. You want to make sure it’s clear of any stray putty or debris before sliding on the locknut, then the fiber gasket, and finally the rubber gasket for the new drain.
To attach these new fixtures, you’ll likely have to pull the pipe away from the drain opening. Once you’ve done this, make sure you return the drain to its original position.
Install a new drain flange
Before installing a new drain flange, wipe away old plumbers’ putty and check the shower floor around the drain opening. If cracks are present, you may need to install a new shower pan before continuing.
If no cracks are present, continue by packing the underside of the rim of the new shower drain flange with plumbers’ putty. Do this by rolling the putty into a rope and winding the rope around the flange. Then, flatten it with your fingers.
https://copperlab.com/blogs/guides/how-to-replace-shower-drain
Do you like reading about How to Install a Shower Drain? Write a comment below. We'd be delighted to find out your thinking about this piece. Hoping that you visit us again later on. Sharing is good. You just don't know, you may just be helping someone out. Thank you for your time. Visit again soon.
Report this page